
Google My Business: The Definitive Guide
Does your marketing team need to bring real people to a physical location?
Then you need to be using Google My Business.
By learning to create, optimize, and publish content to a Google My Business profile you can transform how you reach local customers.
Today we are going to show you:
- Why Google My Business is essential
- How to create a profile
- The three types of post you need to share
- The optimal way to create, share, and schedule your posts
Let’s dive in, shall we?
What Is Google My Business (And Do You Need It)?
Google My Business is a free tool that allows you to create a business profile. It was created to help connect Google’s users with businesses in physical locations.
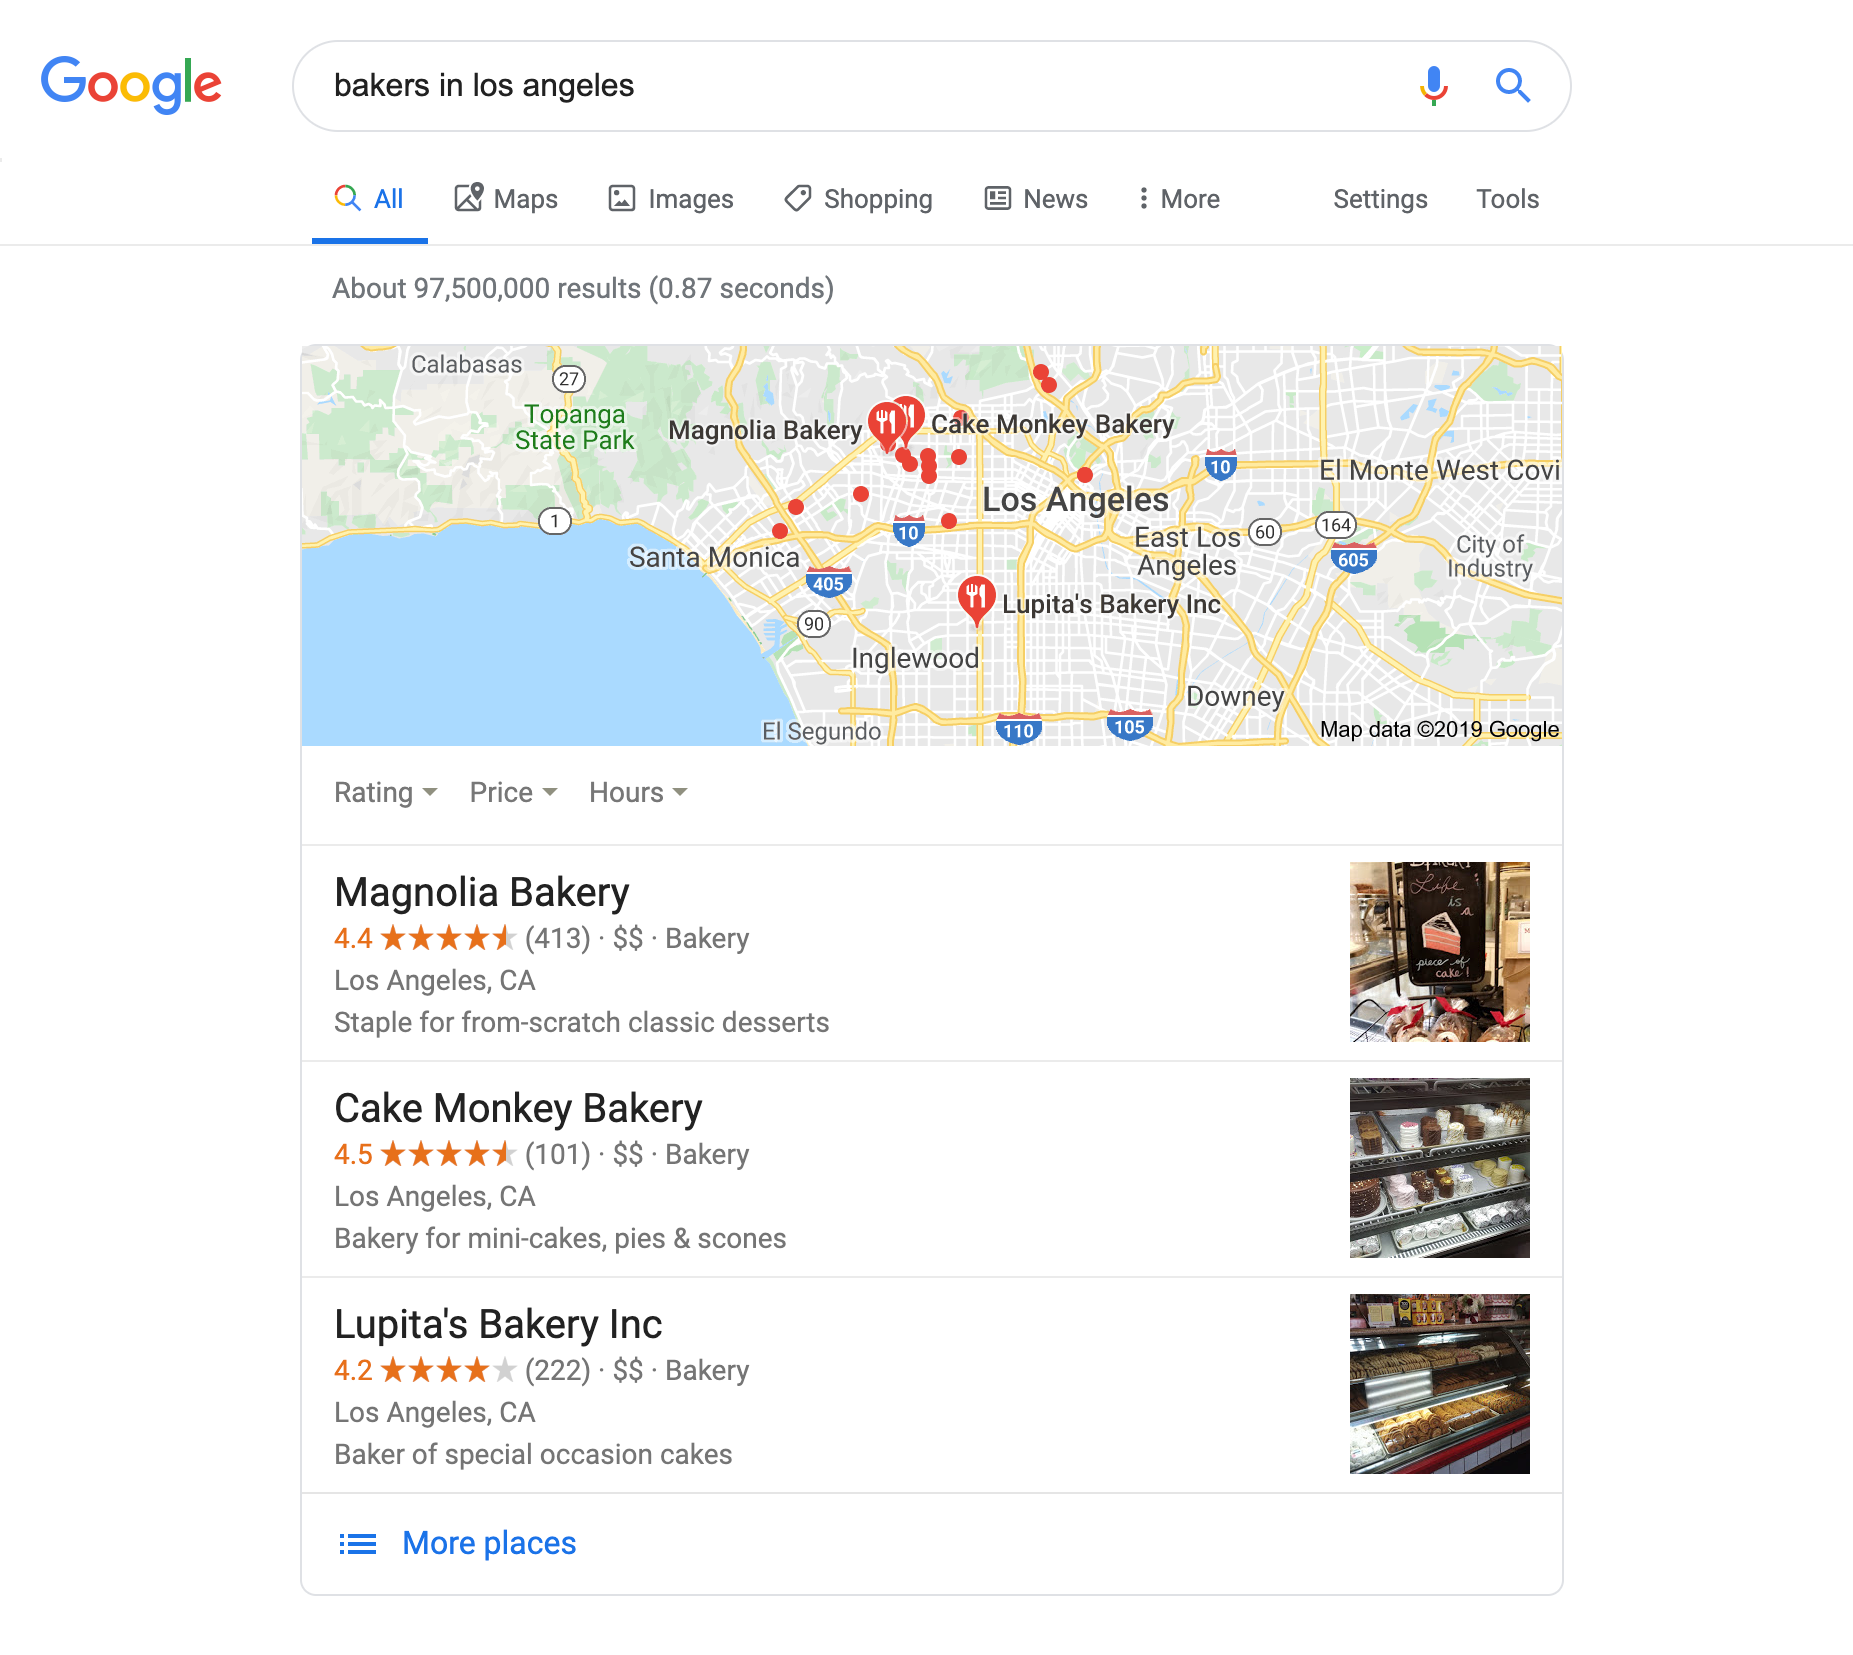
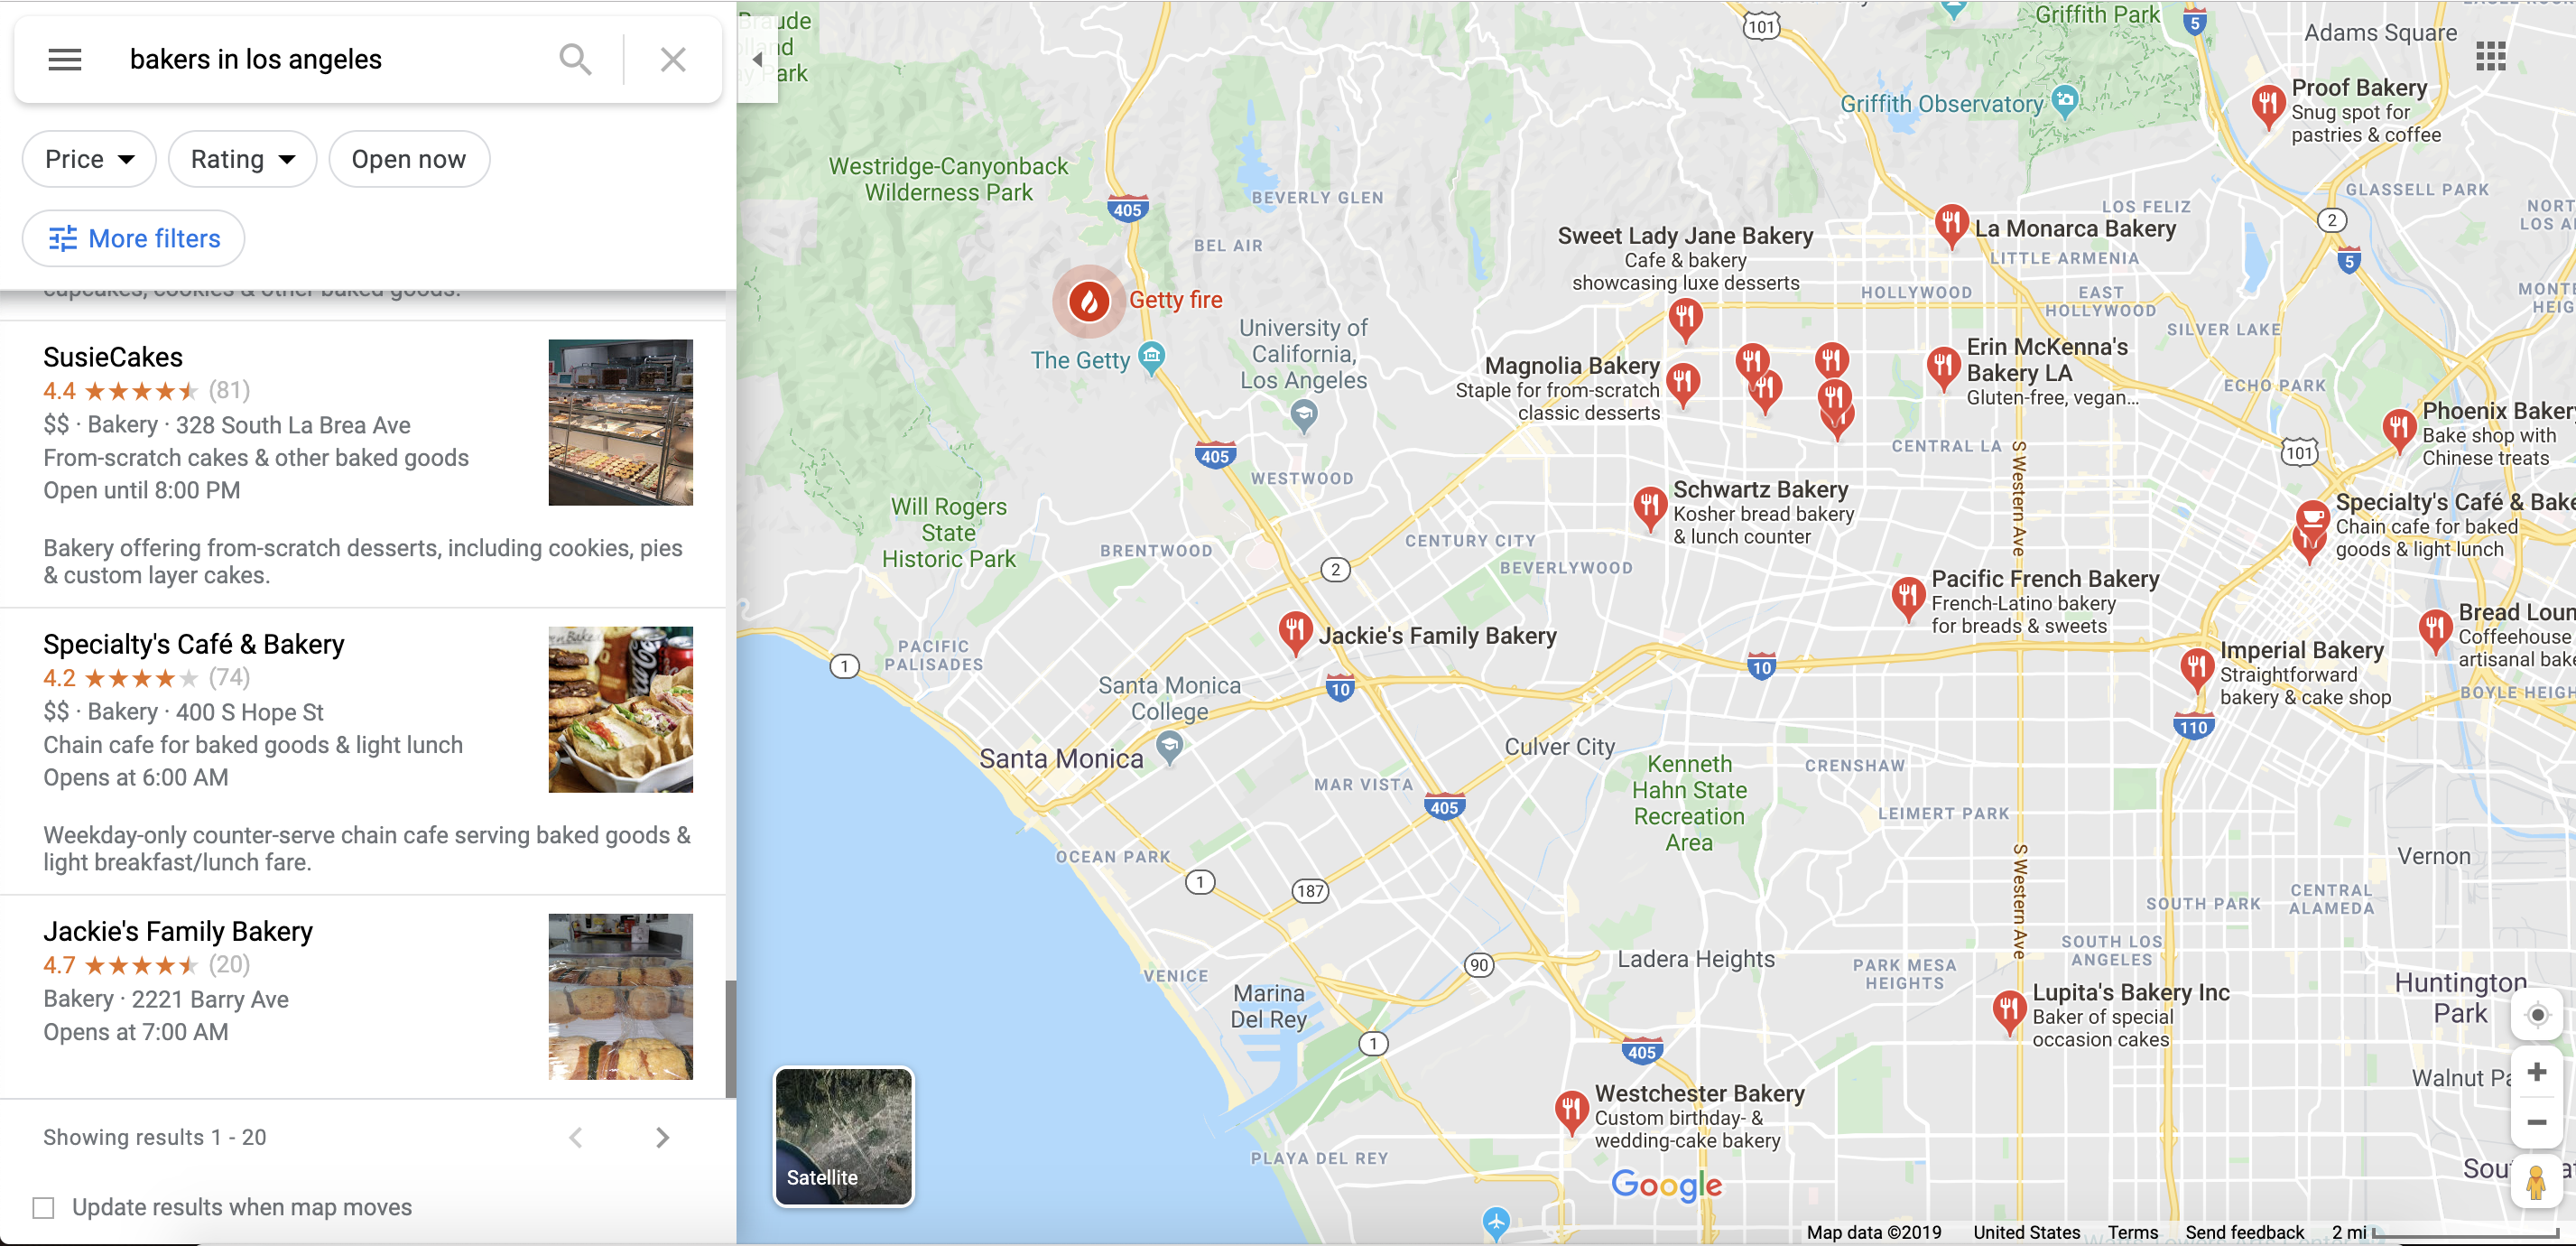
Your profile is displayed in one of two locations:
- Either as part of Google’s “Snack Pack” at the top of a search engine results page:
- Or as part of Google Maps:
Your profile contains easily accessible information about your brand. Depending on your product or service, this could be:
- Physical address
- Phone number
- Website
- Email address
- Opening times
- Photographs
- Menus
- Prices
You can also post social media-style updates on your profile to help provide a more personal level of branding and fresh news. (More on that later!)
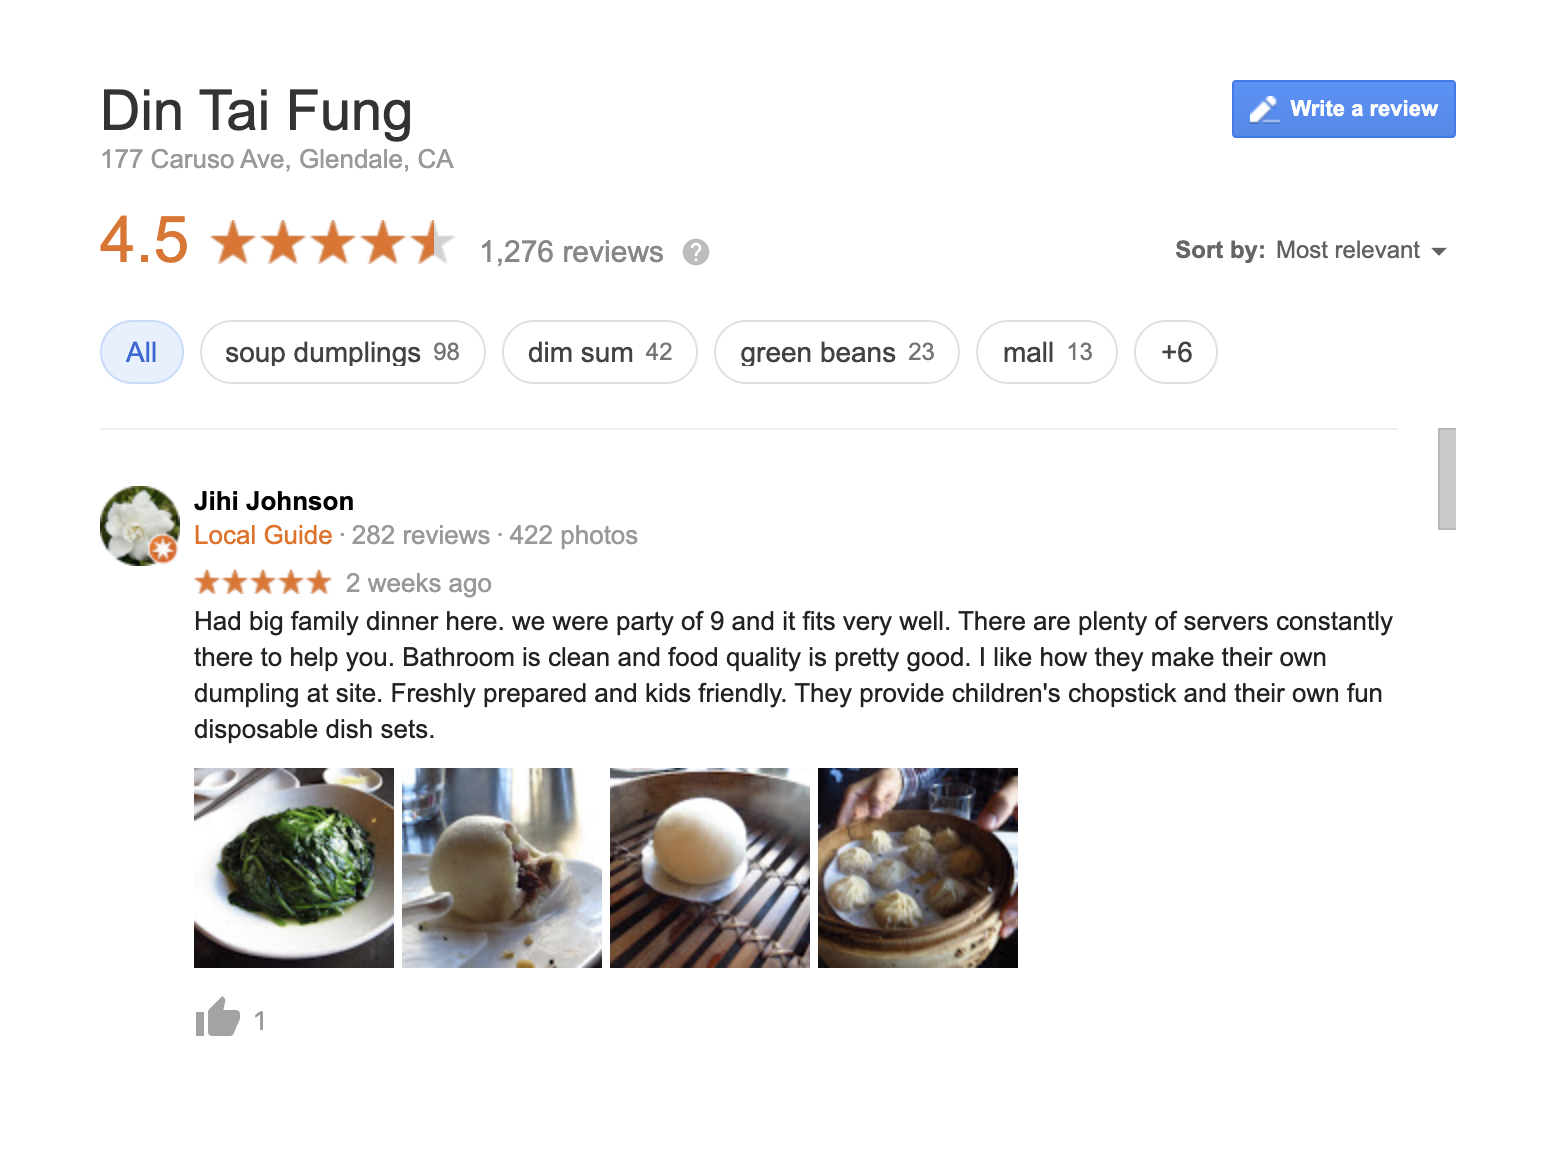
But, Google My Business is not just a one-way street. Users can also:
- Rate their experience
- Leave long-form reviews
- Upload images
Here is a review James, one of our Loomly team members, left for the restaurant Din Tai Fung in Los Angeles
Because of Google My Business’s connection to physical businesses, your profile will display for location-based search results. For example:
- Coffee shop near me
- Bakery in Los Angeles
- AMC in Burbank
Google representatives say around 46% of searches contain local intent. Lots of users are looking to connect with the businesses around them. Meaning:
If your business relies on physical visits, you need a Google My Business profile.
Here is how to set one up.
How To Set Up Your Google My Business Account
It is easy (and free!) to set up your Google My Business account.
Google My Business is really ideal if your business involves face-to-face interactions. Meaning, customers can visit your physical location (or you visit theirs’) to use your services.
For example, these types of business would all be a great fit:
- Banks
- Coffee shops
- Digital agencies
- Lawyers
- Medical services
- Retail stores
- Tradesmen
Digital-only services are, therefore, less well-suited.
If your business sounds like the right fit, move on to step one.
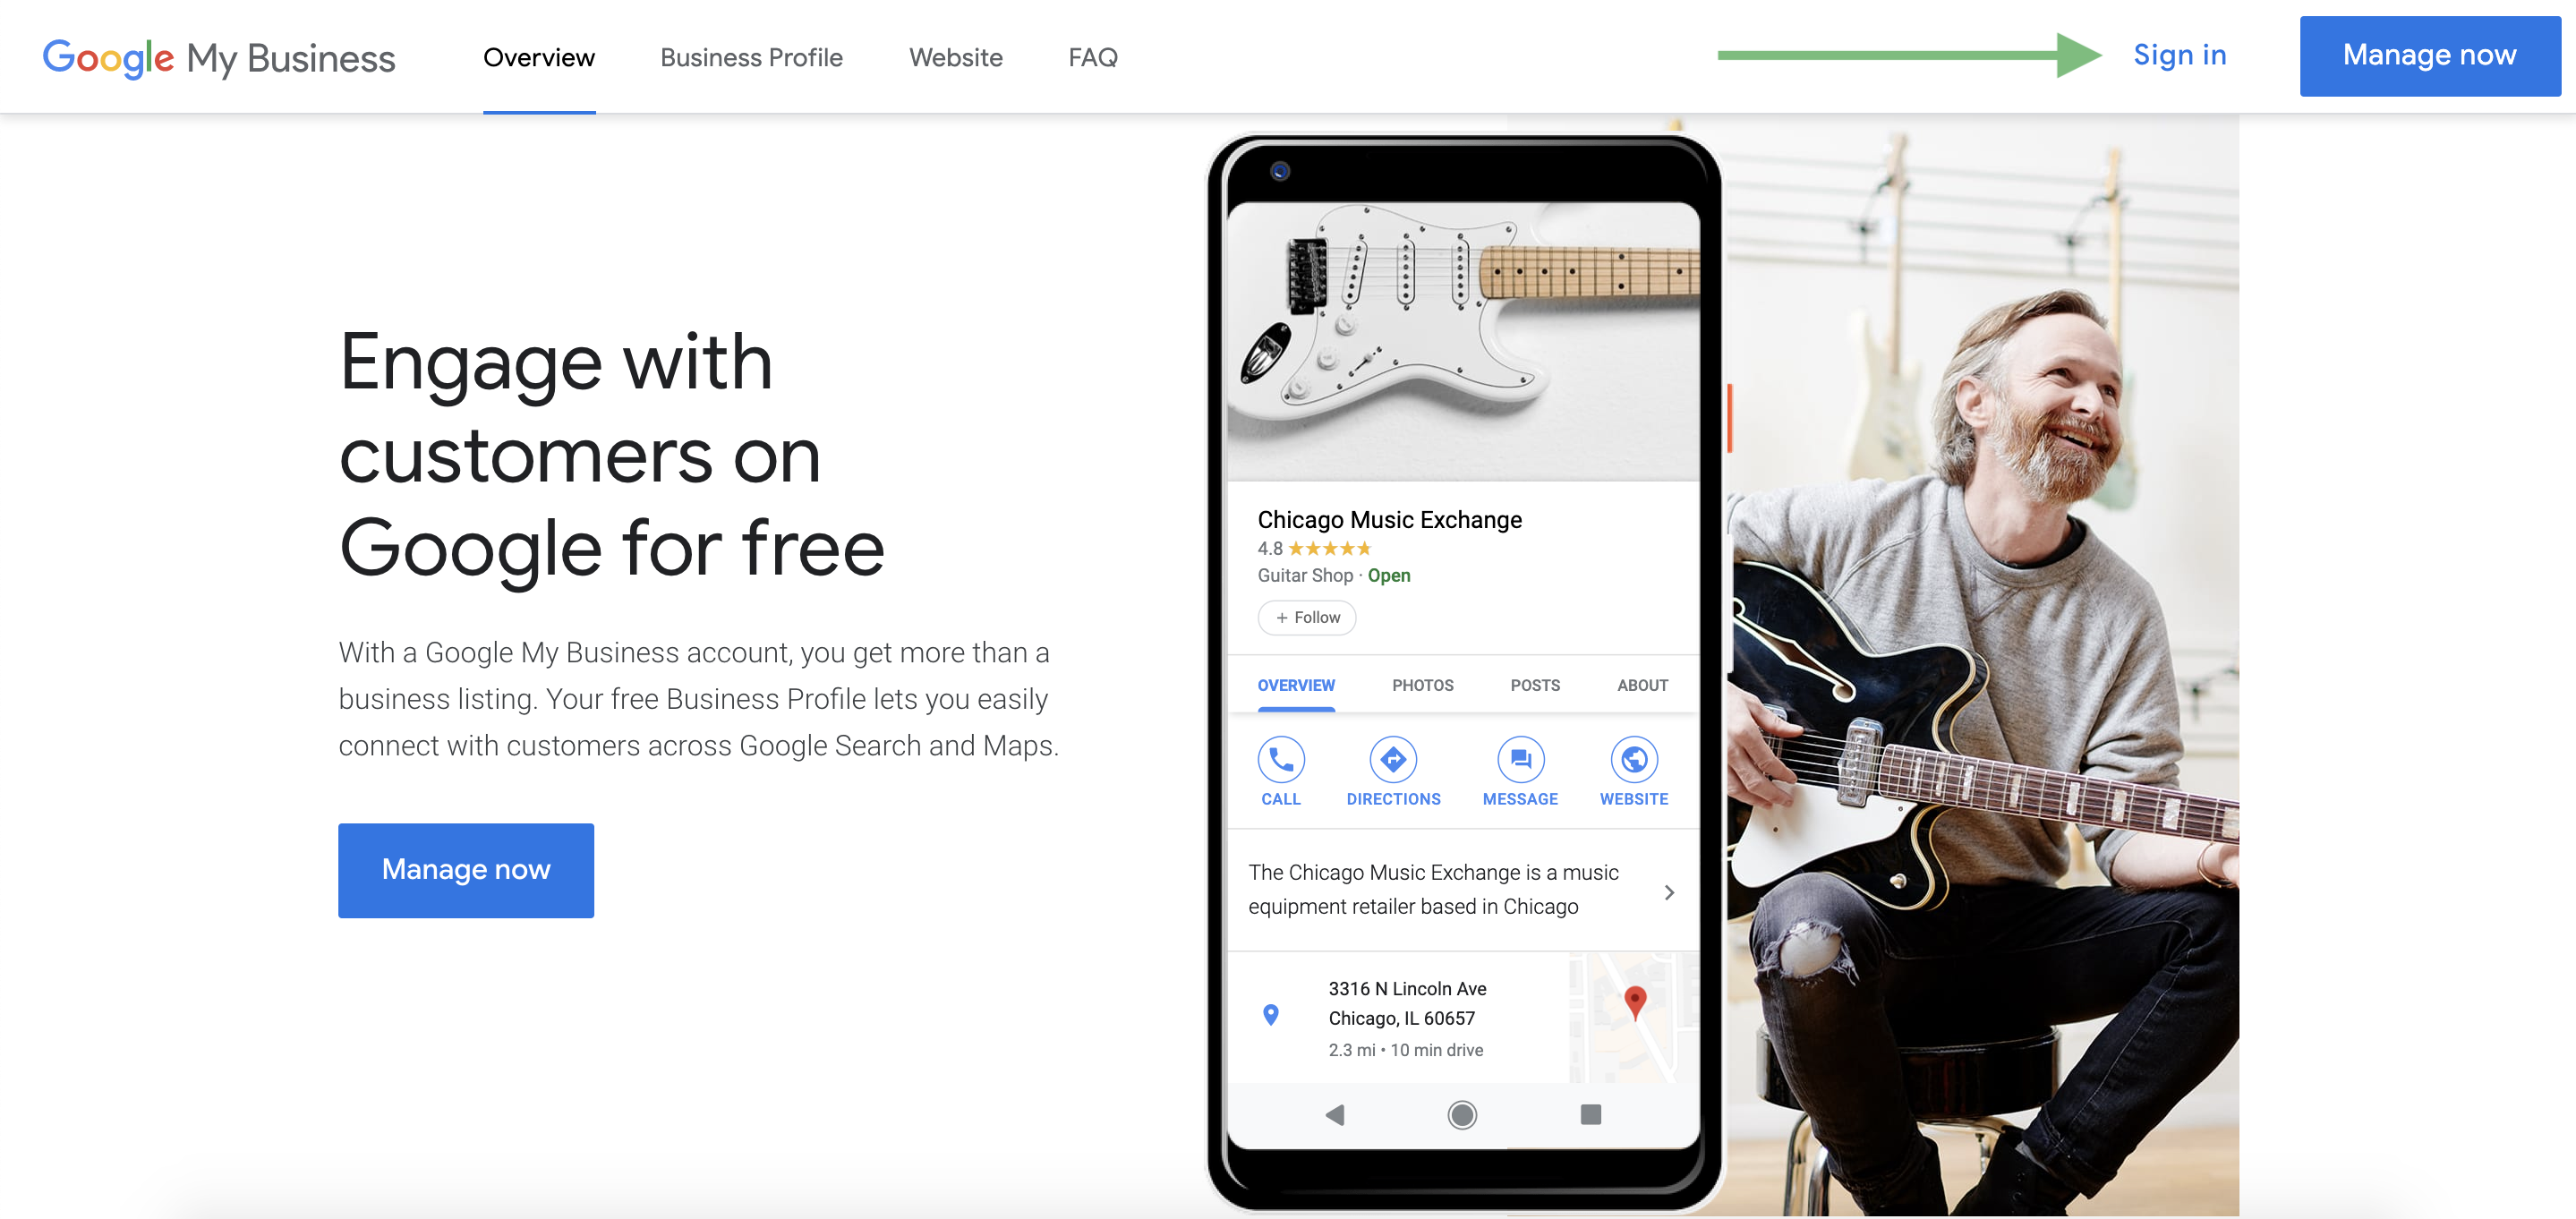
Step 1: Create (Or Sign Into) A Google Account
Head to the Google My Business website and either:
- Create a Google account
- Sign in to your existing one
You can access both of these options on the top-right hand corner of the page:
You should use an email address that is associated with your business. Preferably, a generic marketing team address that multiple people have access to.
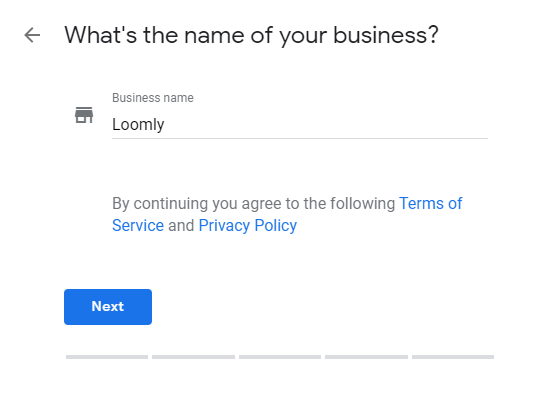
Step 2: Name Your Business
The next step is to add your business name.
We recommend you use the same name you would use on signage or printed documents.
If you are creating a Google My Business page for a franchise location, you should also include the location. For example:
- Starbucks Universal City
- Starbucks Santa Monica Blvd
- Starbucks Studio Plaza
It can also be useful to add any words that help distinguish your business.
Let’s say you are managing marketing for a law firm called Davies & Davies. It would be beneficial for both Google and its users to write that as Davies & Davies Law Offices.
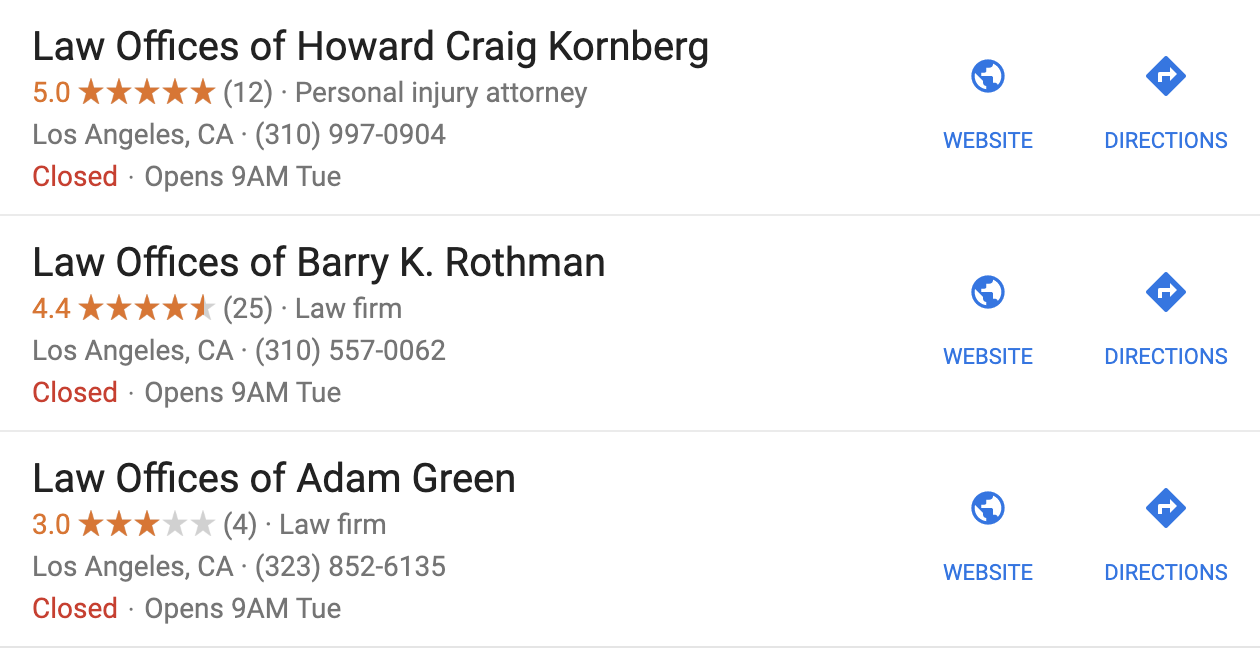
You could also add any specifics like “Divorce Lawyer” or “Patent Attorney” if you feel it would improve the quality of your profile.
Step 3: Add Your Business Location
Google will now ask if you want to add a location people can visit. This is essential so do not skip this step.
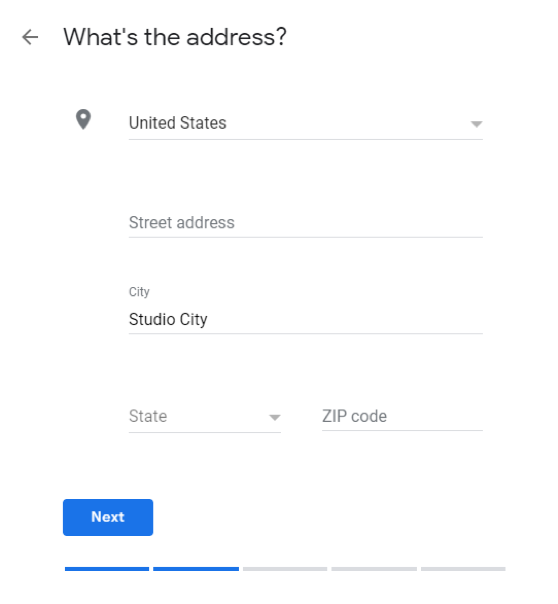
If your business is not conducted at your location, and instead takes place at the customer’s location (like a plumbing service), you can hide this address.
You just need to select the “Yes, I also serve them outside my location” option on the next page:
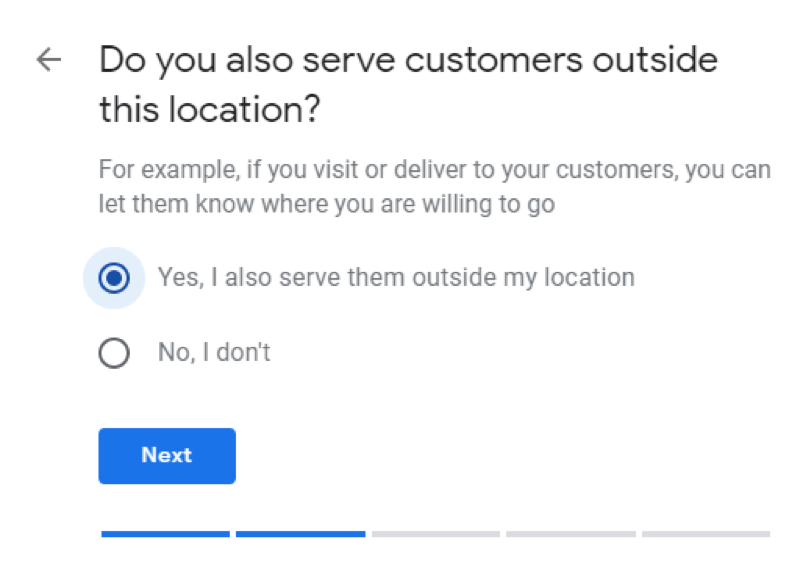
You can also select a “delivery radius” so you only target people within a specific area.
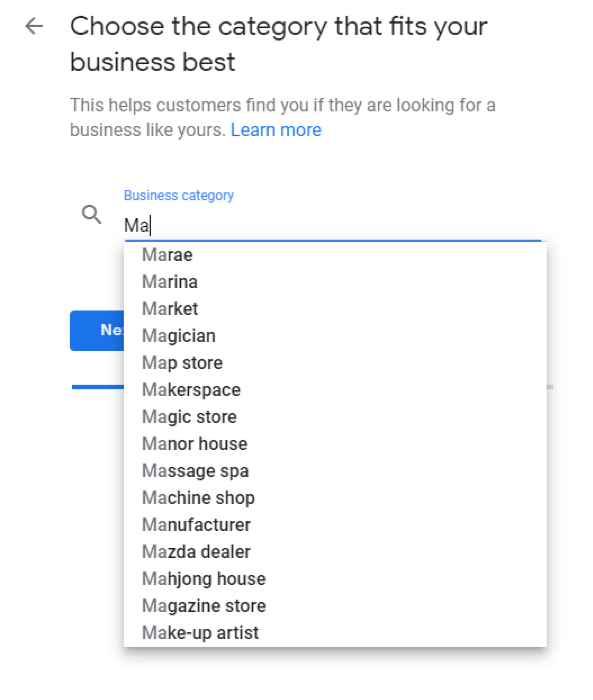
Step 4: Choose Your Business Category
You can now select your relevant business category.
Here you are informing Google about which of their users should see your listing. This will also influence the potential search terms you will display for. So, be specific.
If you are unsure what category to select you can check Google’s official guidelines.
Step 5: Provide Your Contact Number And Official Website
Contact details are an important part of your Google My Business profile. These provide users with a way to directly contact your business.
You need to use a phone number you are willing to have potential customers call you on.
As for the website:
If you are the only location for your business, you can provide your normal homepage URL.
However, if this listing is for a franchise location, it is good practice to provide a location-specific landing page as the URL.
Step 6: Verify Your Account
Google will ask to verify your business is legitimate. You can do this by:
- Phone
For a complete breakdown of the current verification methods, please consult Google’s official guide.
Step 7: Optimize Your Google My Business Profile
Once your listing verified, it is time to optimize!
In your dashboard, you can add relevant information such as:
- Cover image
- Business synopsis
- Opening hours
- Accessibility information
- Service details (menus, etc.)
- High-quality images
Be thorough with this information and include anything you think a customer might need. It can also be useful to look at what competitors in other locations have included in their profile.
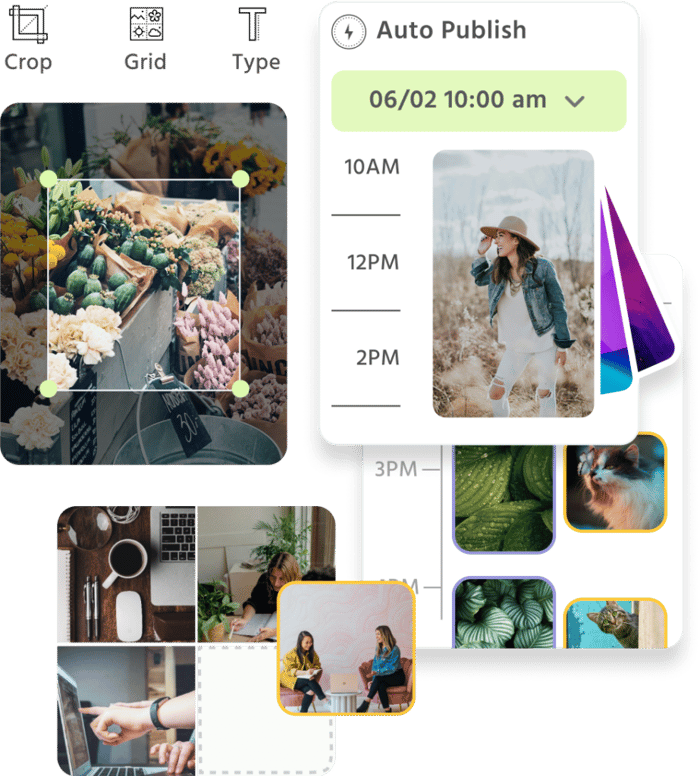
(Optional) Step 8: Link Your Profile To Loomly
As you will see in the next section:
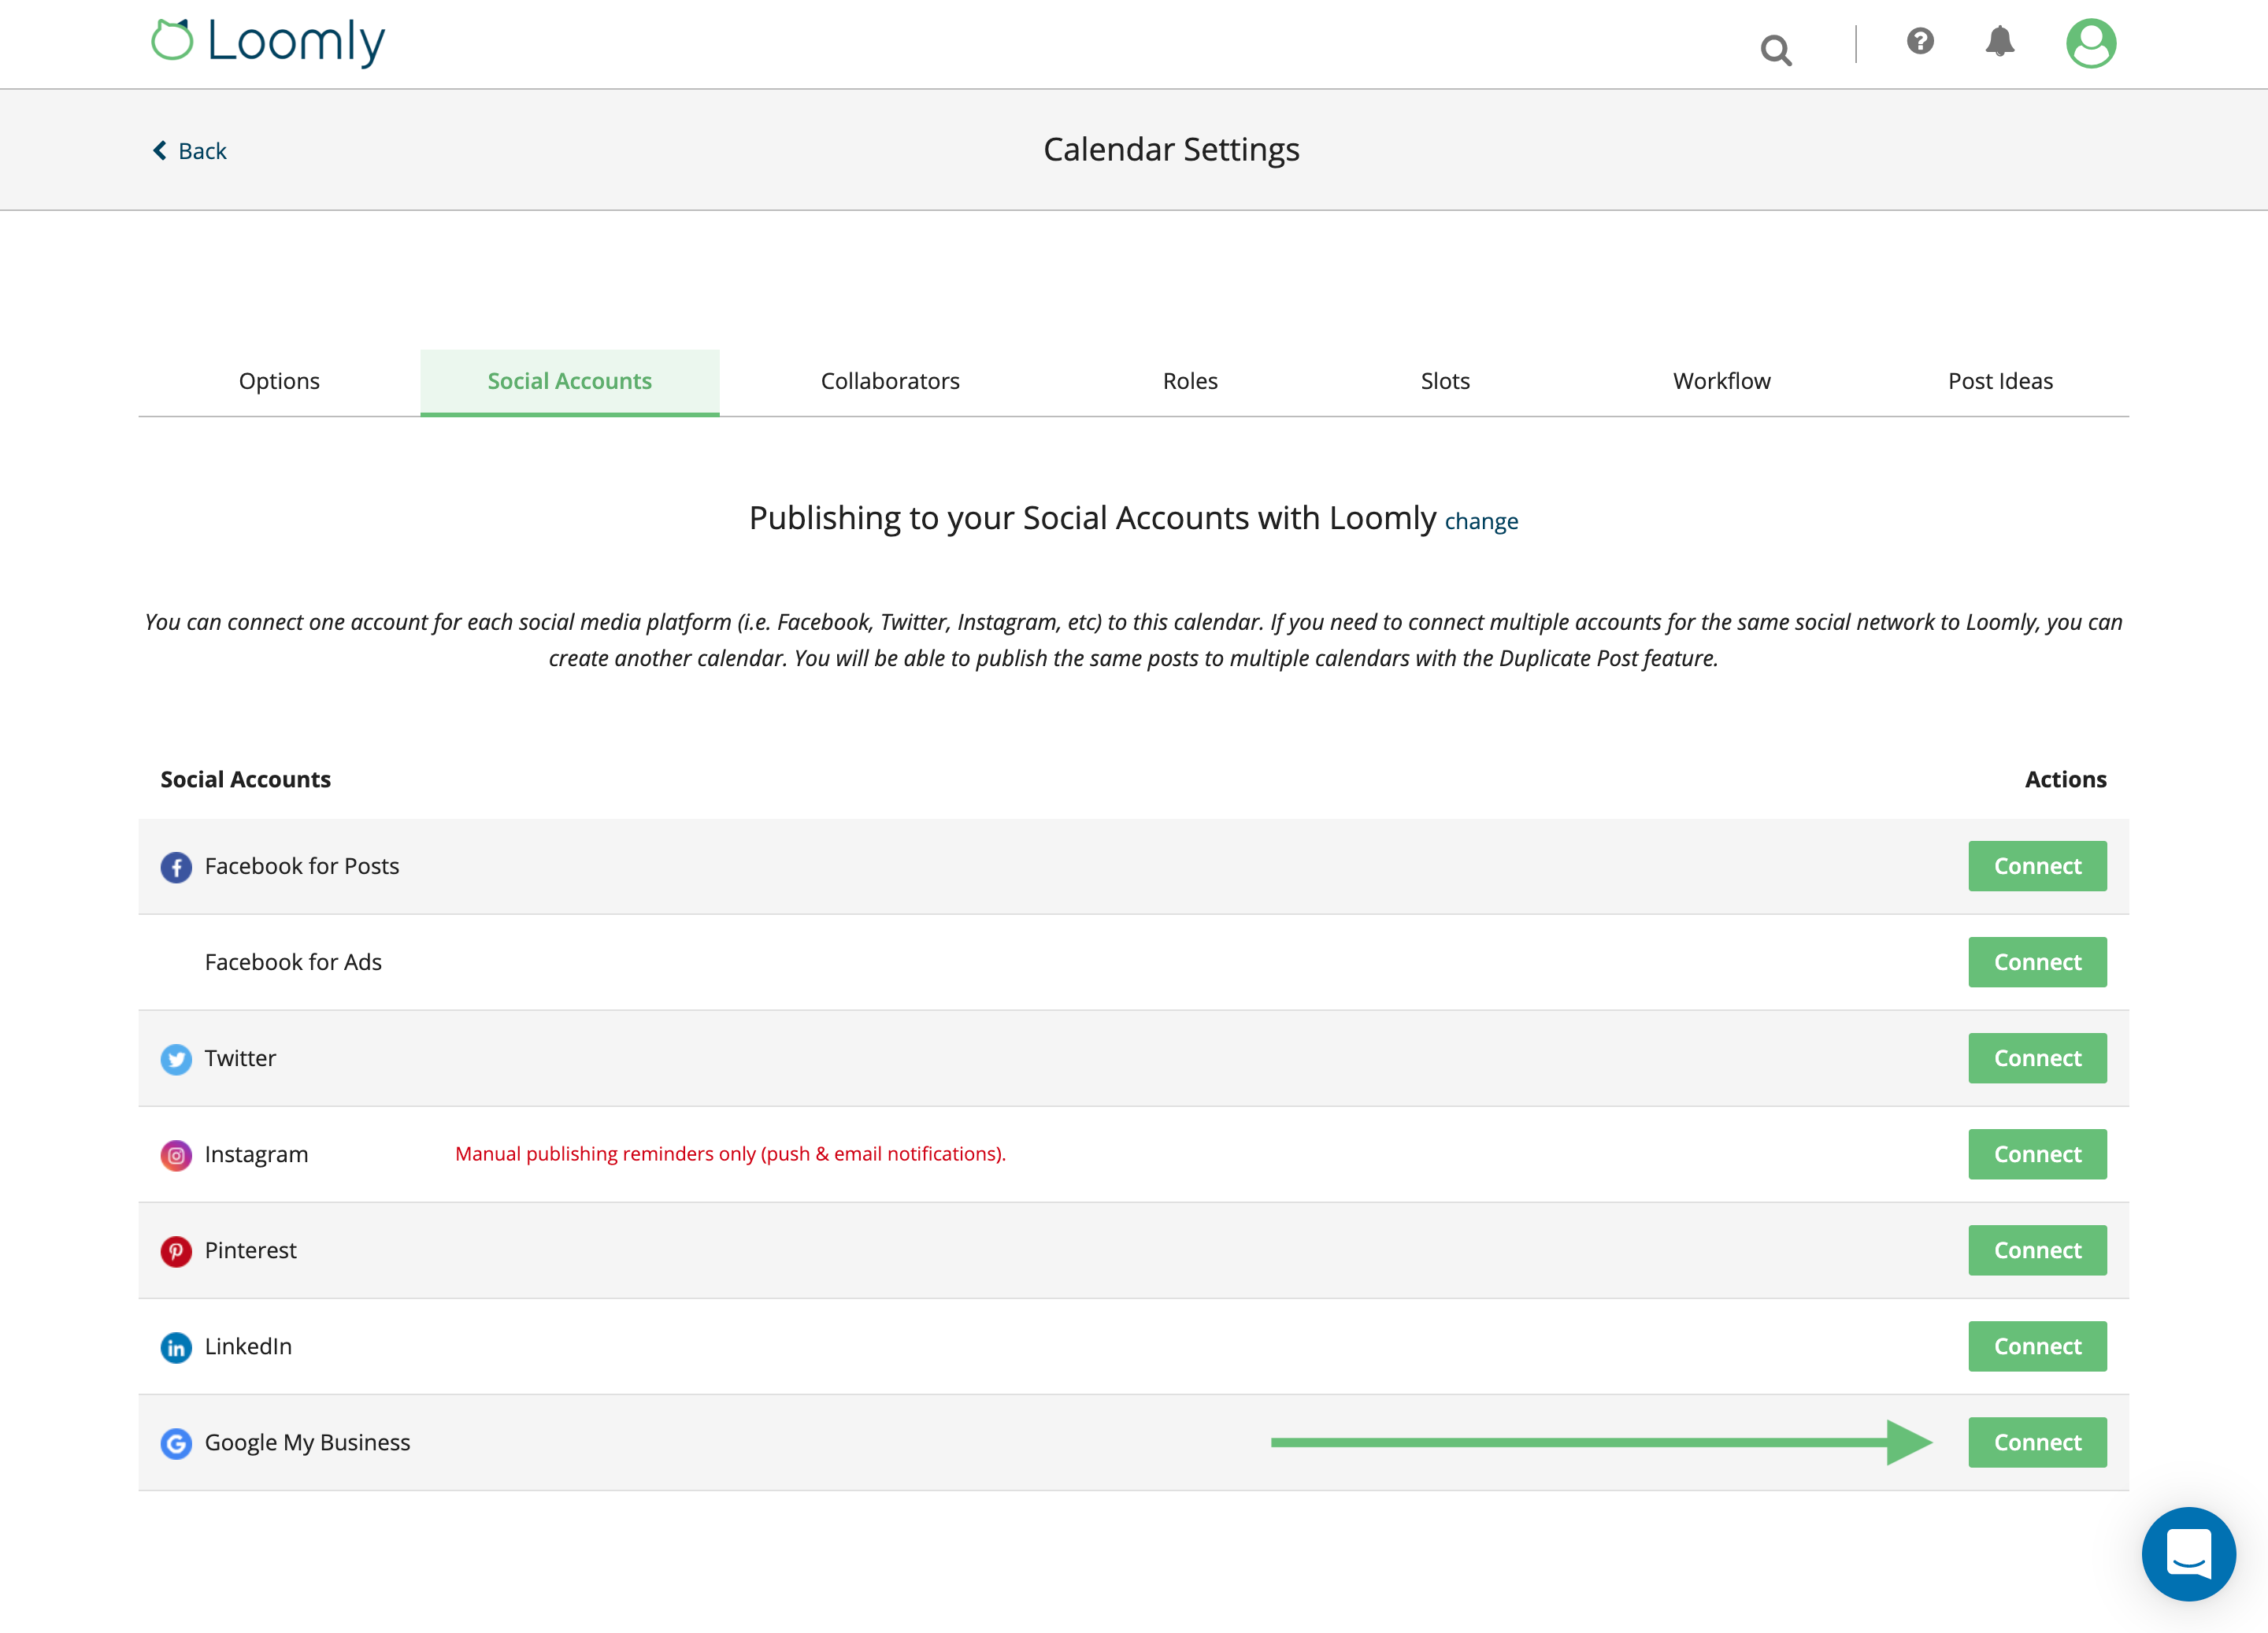
Google allows you to publish social media-style posts to your Google My Business profile. But, Loomly also allows you to schedule these updates in advance.
To connect your account go to the Social Accounts tab of your calendar Settings, scroll down to the bottom of the page where you will see this Google My Business section and click Connect:
You will then be redirected to Google where you can securely choose your account.
Finally, select the Google My Business profile you would like your Loomly calendar to publish to:
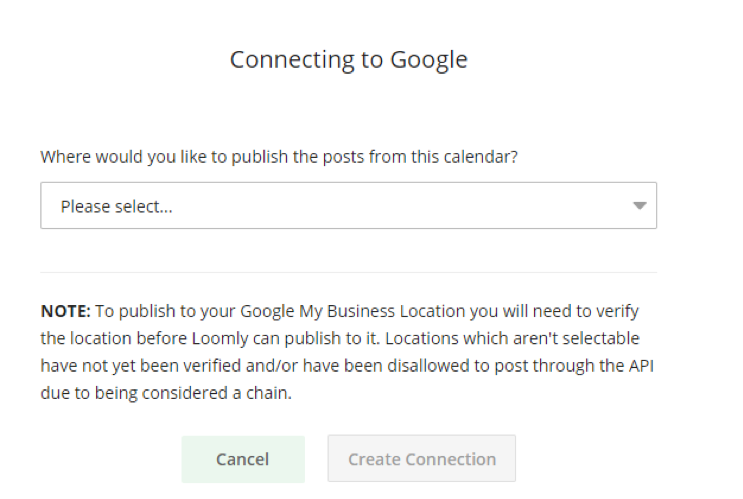
You can now create and schedule Google My Business posts (along with posts for five more social networks) from one easy-to-use interface!
Now you are set up and ready to go, let’s take a closer look at Google My Business posts and how they work.
How Google My Business Posts Can Help Your Brand
Google My Business posts are social media-style updates that display on your profile.
Okay, we know what you are thinking:
Do you really need another platform to publish on?
Well, the data says these posts are well worth it. When Moz examined 2000 Google My Business profiles they found that:
- Viewers often viewed multiple posts
- The average post is clicked 100% of the time
This means if you are in a competitive location, these posts can help you stand out and build a stronger brand than those around you.
In the next section, we are going to explore the three most beneficial types of Google My Business updates:
- What’s New: general updates about your brand or location
- Events: specific events at your location (sales, seminars, concerts, etc.)
- Offers: promote sales, discounts, coupons, and special
Let’s take a closer look.
What’s New — Give Your Customers The Latest News
What’s New updates are general posts about what is going on in your business. They are really great for sharing your top of the funnel content that brings people onto your website.
For example, Universal Studios Hollywood often use What’s New posts to talk about exciting things happening in the park, like the launch of Halloween Horror Nights’:
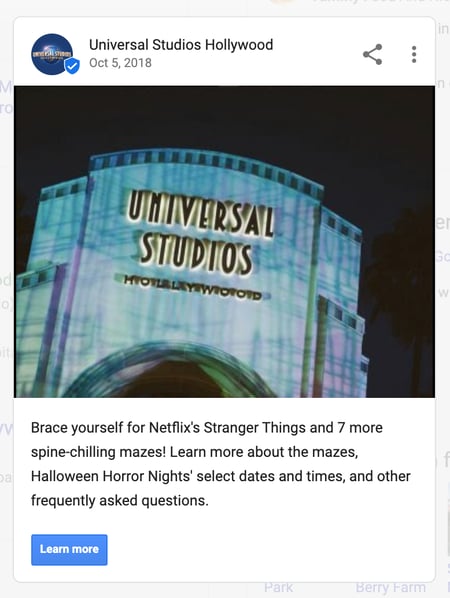
These posts should include a call to action and a link back to a page on your website.
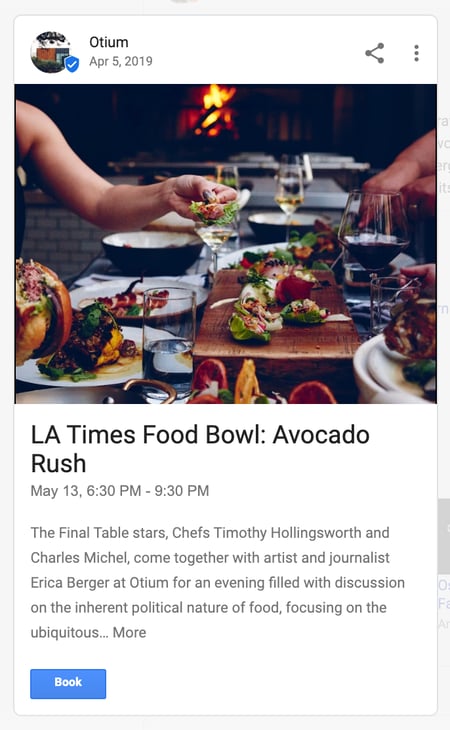
Events — Let Your Customers Know What Is Happening
Events posts allow you to promote what is happening at your location. They are anything that happens at your location for a limited period that requires customer interaction.
This could take on several forms like:
- Holiday celebrations
- Seminars
- Shows
- Closures
For example, The Hollywood Bowl create a standalone update for each concert they host, like this one for The Who:
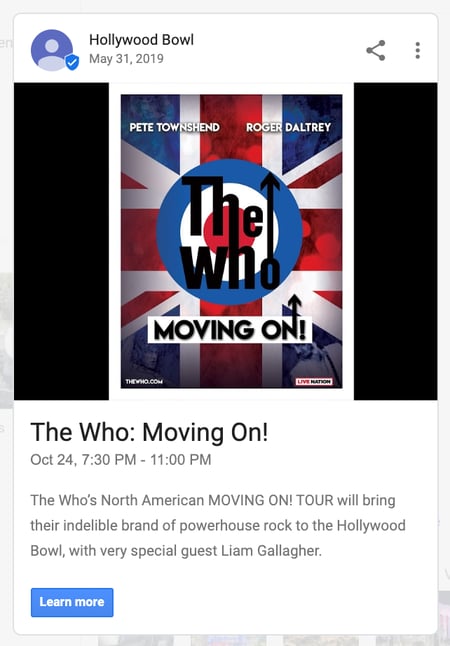
If you are an event-hosting location, these types of updates can be really useful.
They make your profile more interactive and create a brand feel for your location. And, it is easy for “What’s On” style magazines to find and feature you in their publication.
Offers — Feature Your Promotions
Offers allow you to feature your location’s current promotions. These can come in the form of:
- Discounts
- Coupons
- Codes
- Sales
- Specials
For example, Namaste Nail Sanctuary offers their guests a 20% discount on their first visit:
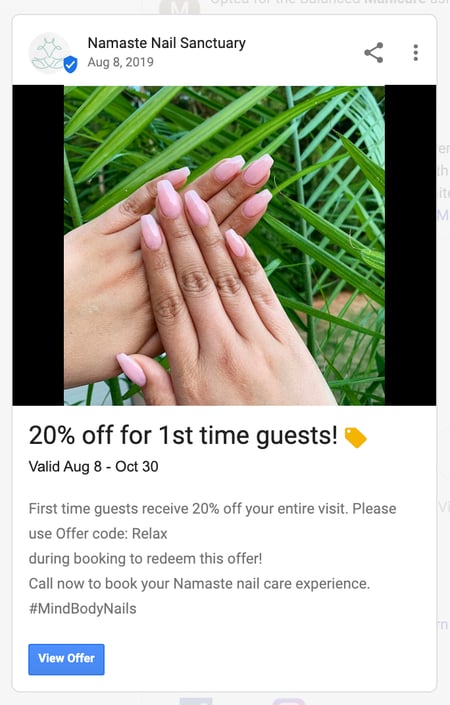
These offers ideally contain a strong call to action and redirect to a relevant landing page on your website.
How To Create A Google My Business Post
There are two ways you can create a Google My Business post:
- The Google Way
- The Loomly Way
Let’s look at both so you can choose the one that is right for you.
The Google Way
Open your Google My Business dashboard. Then follow this process:
- Scroll down to Location
- Select Manage Location
- Scroll down to Posts
- Select Create Post
- Select the relevant post type
You can then add in your content and post it in real-time to your profile.
Check out the video below for a step-by-step tutorial:
You will need to repeat this process every time you want to post on Google My Business (the option to schedule posts in advance is currently not available).
Which is why we recommend you do this the Loomly way instead:
The Loomly Way
If you have a Loomly account and you have synced it with your Google My Business account, you can create your posts from our easy-to-use interface.
Login to your account, get inside one of your calendars and select Create New Post.
Set the date and time you want the post to go live: this allows you to schedule a Google My Business post in advance!
Loomly will even suggest relevant post ideas based on our data of what works well on that day of the week:

Once you have set these details, click Next.
Select Google My Business from the available social channels:
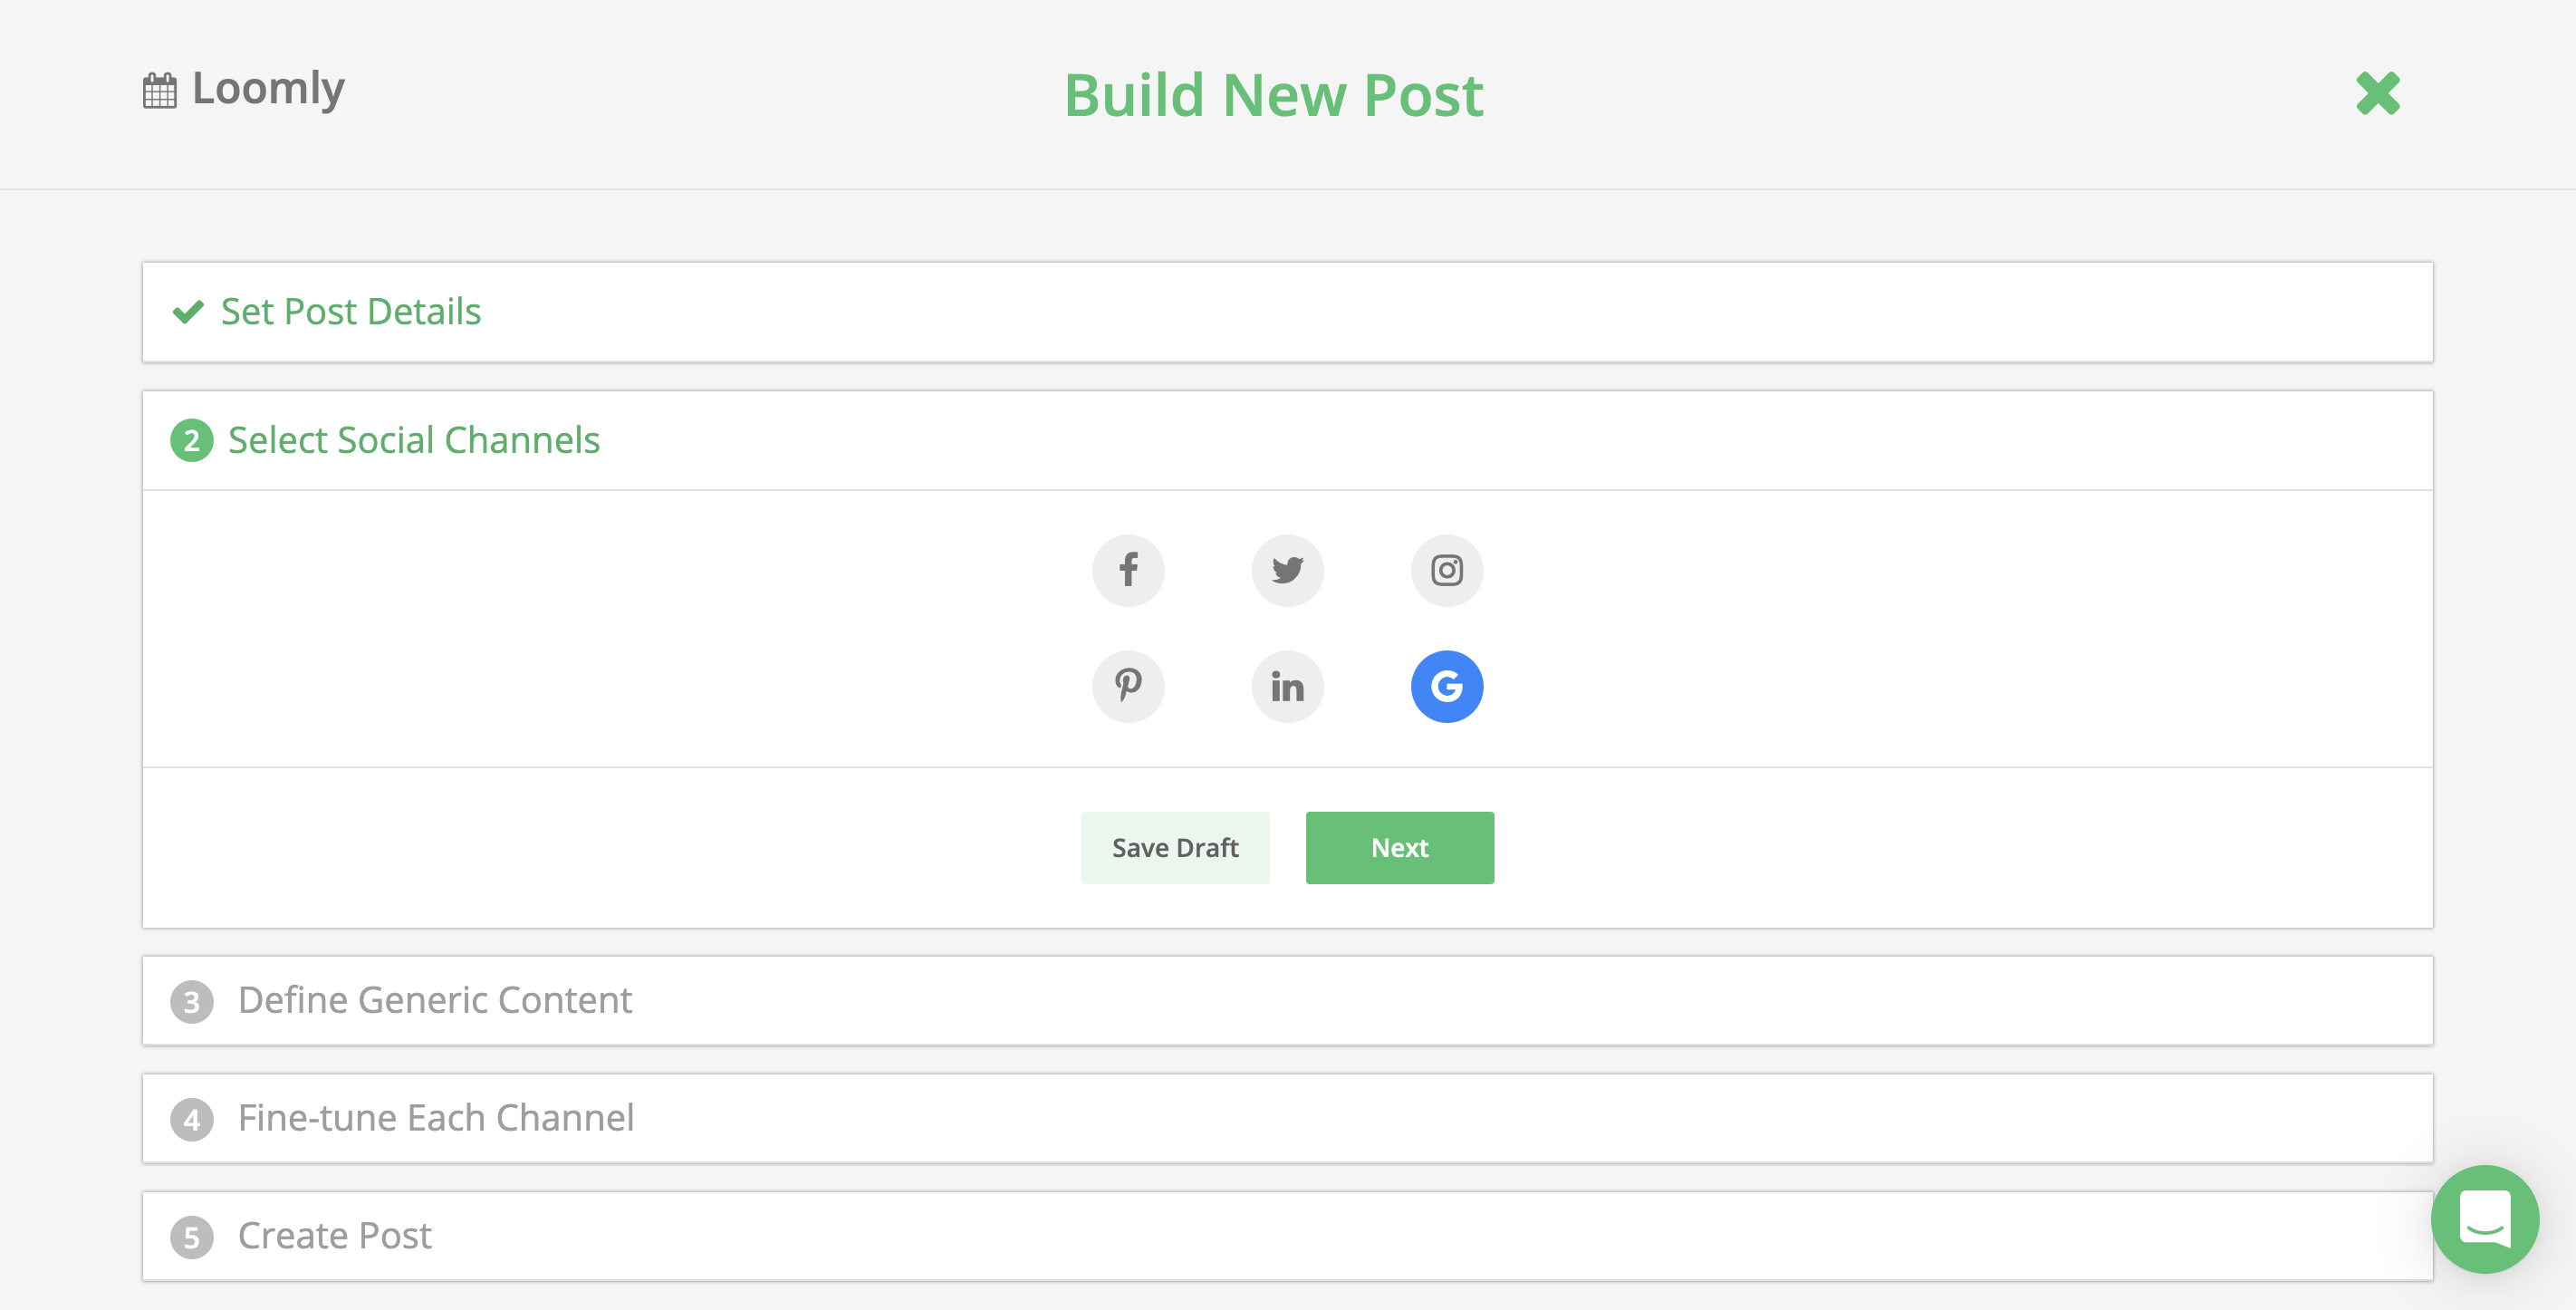
You will now be able to select from the three update types we discussed in the last section:
- What’s New
- Event
- Offer
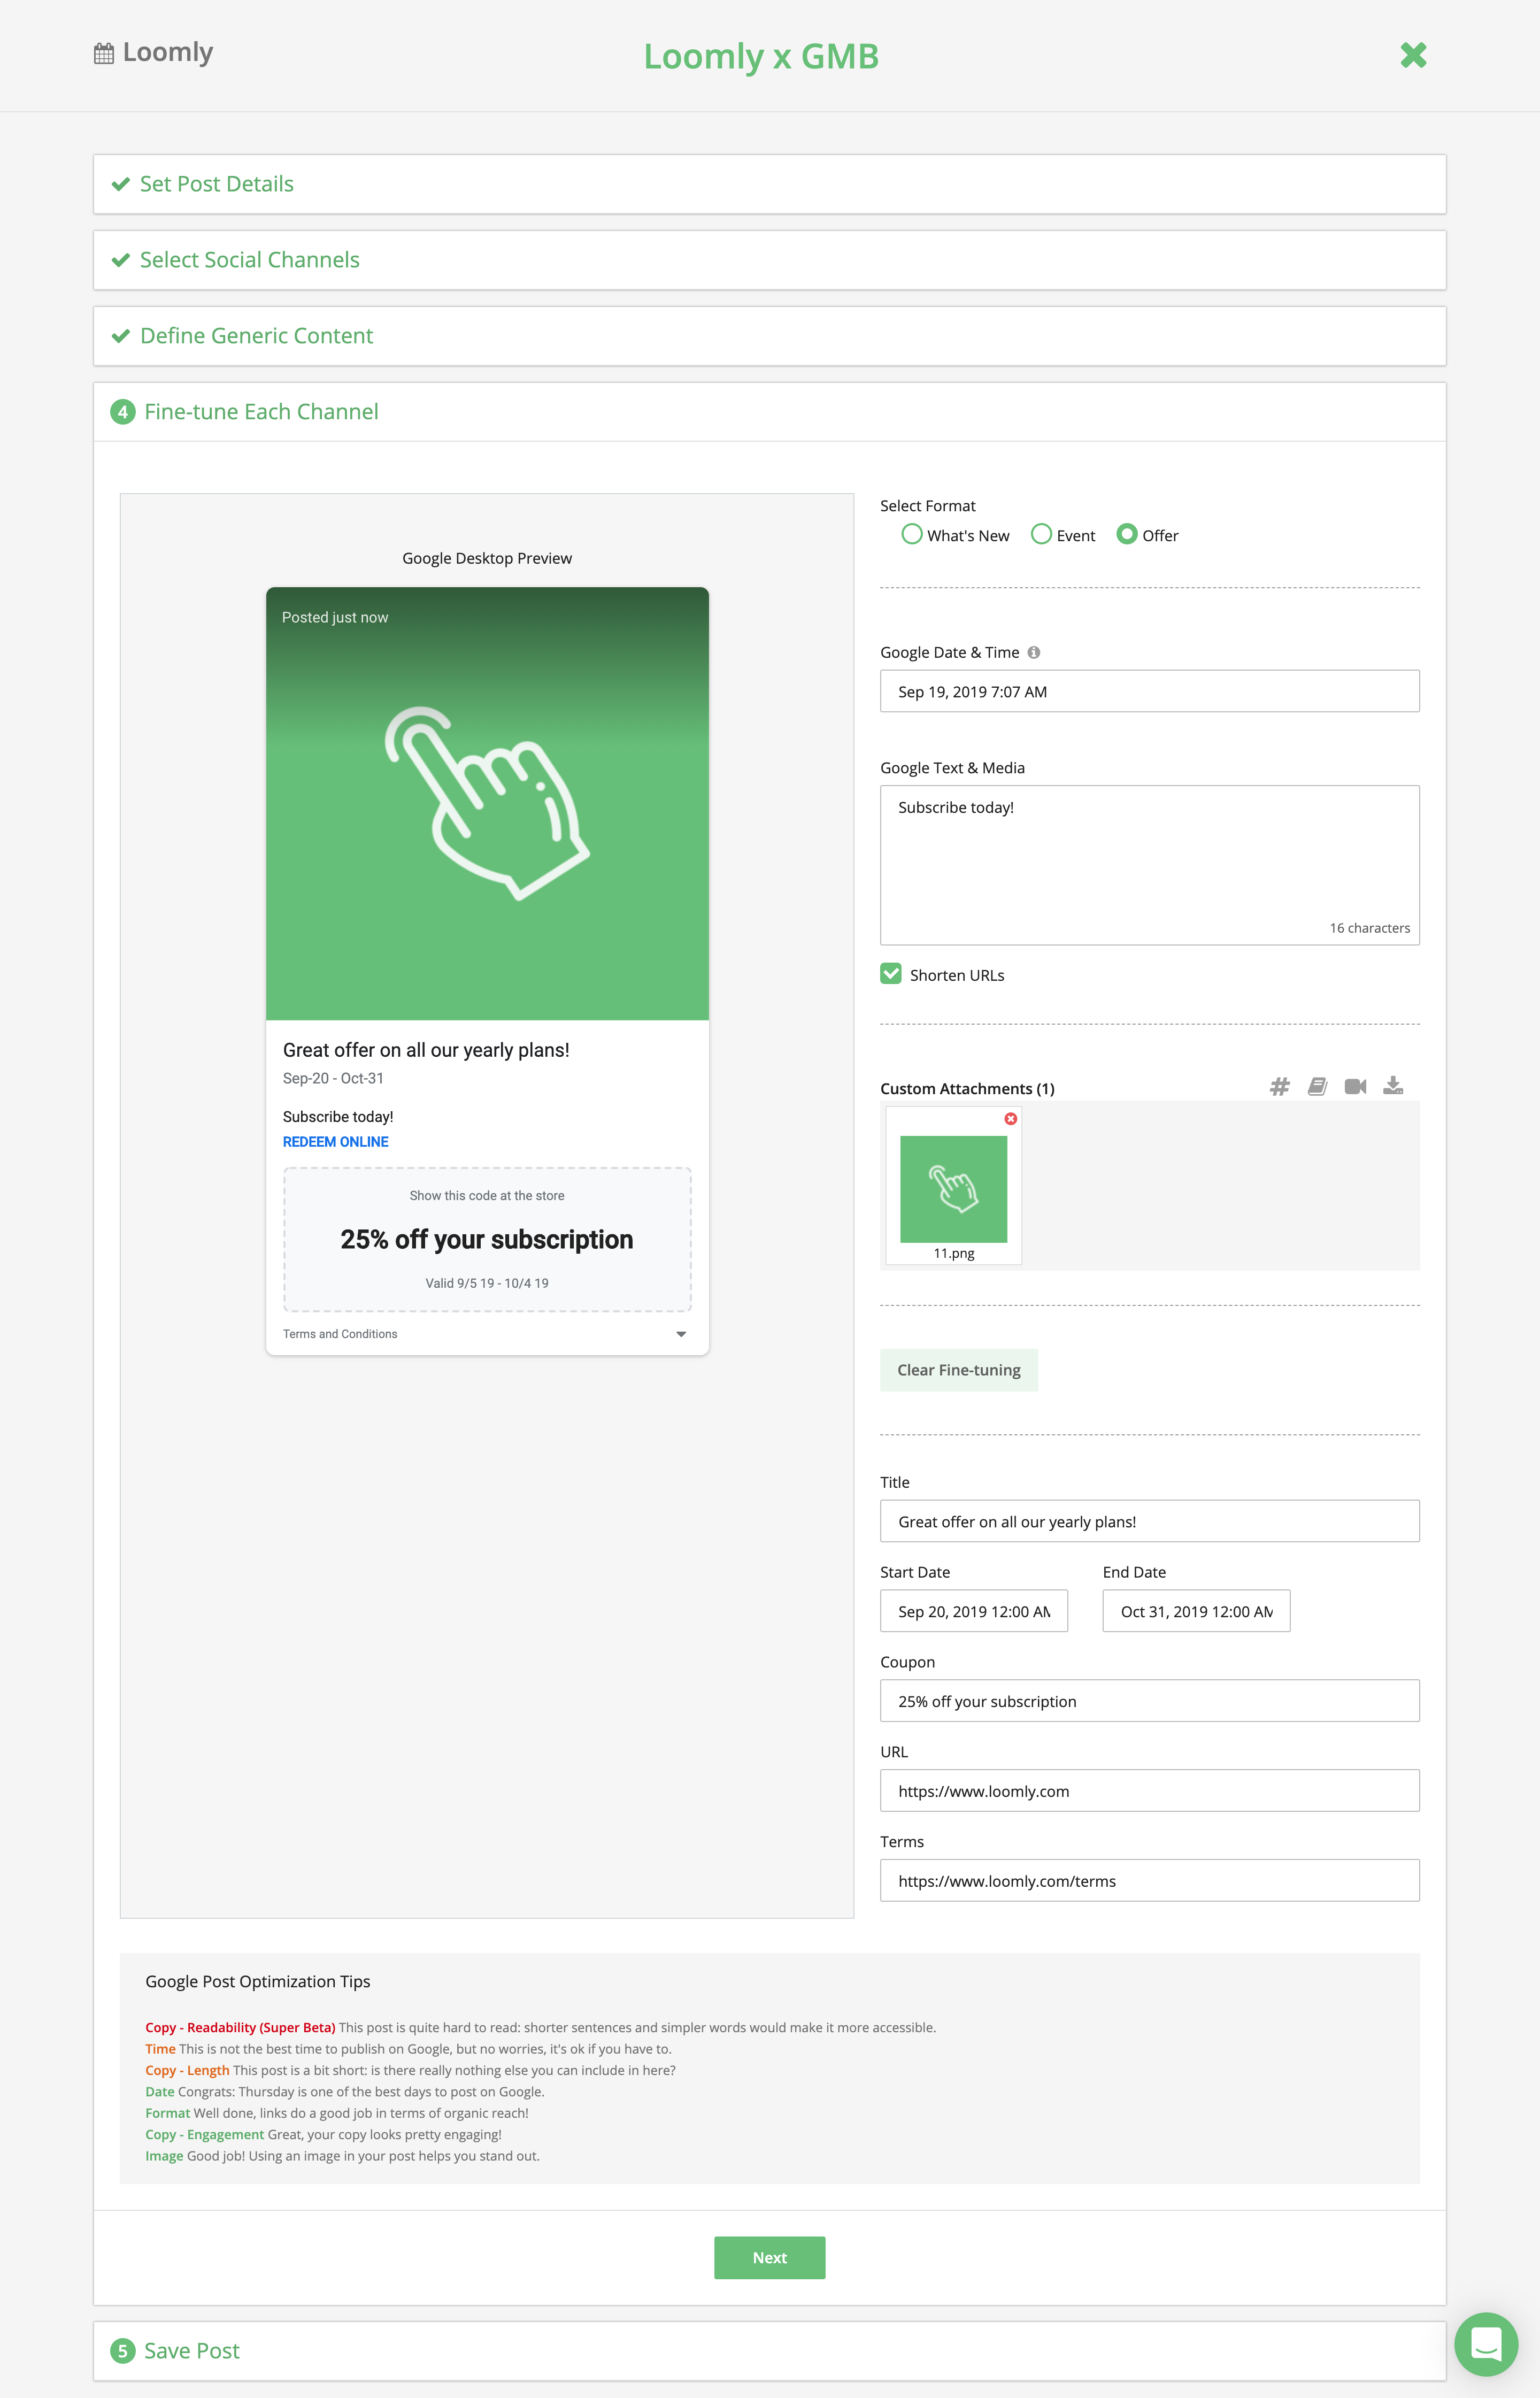
Simply select the option and then fill in sections with the relevant content:
Once you have created the content for your post, you can approve, review, and confirm the scheduling for your post with your team.
Here, Loomly will show you exactly how the post will look when it goes live:
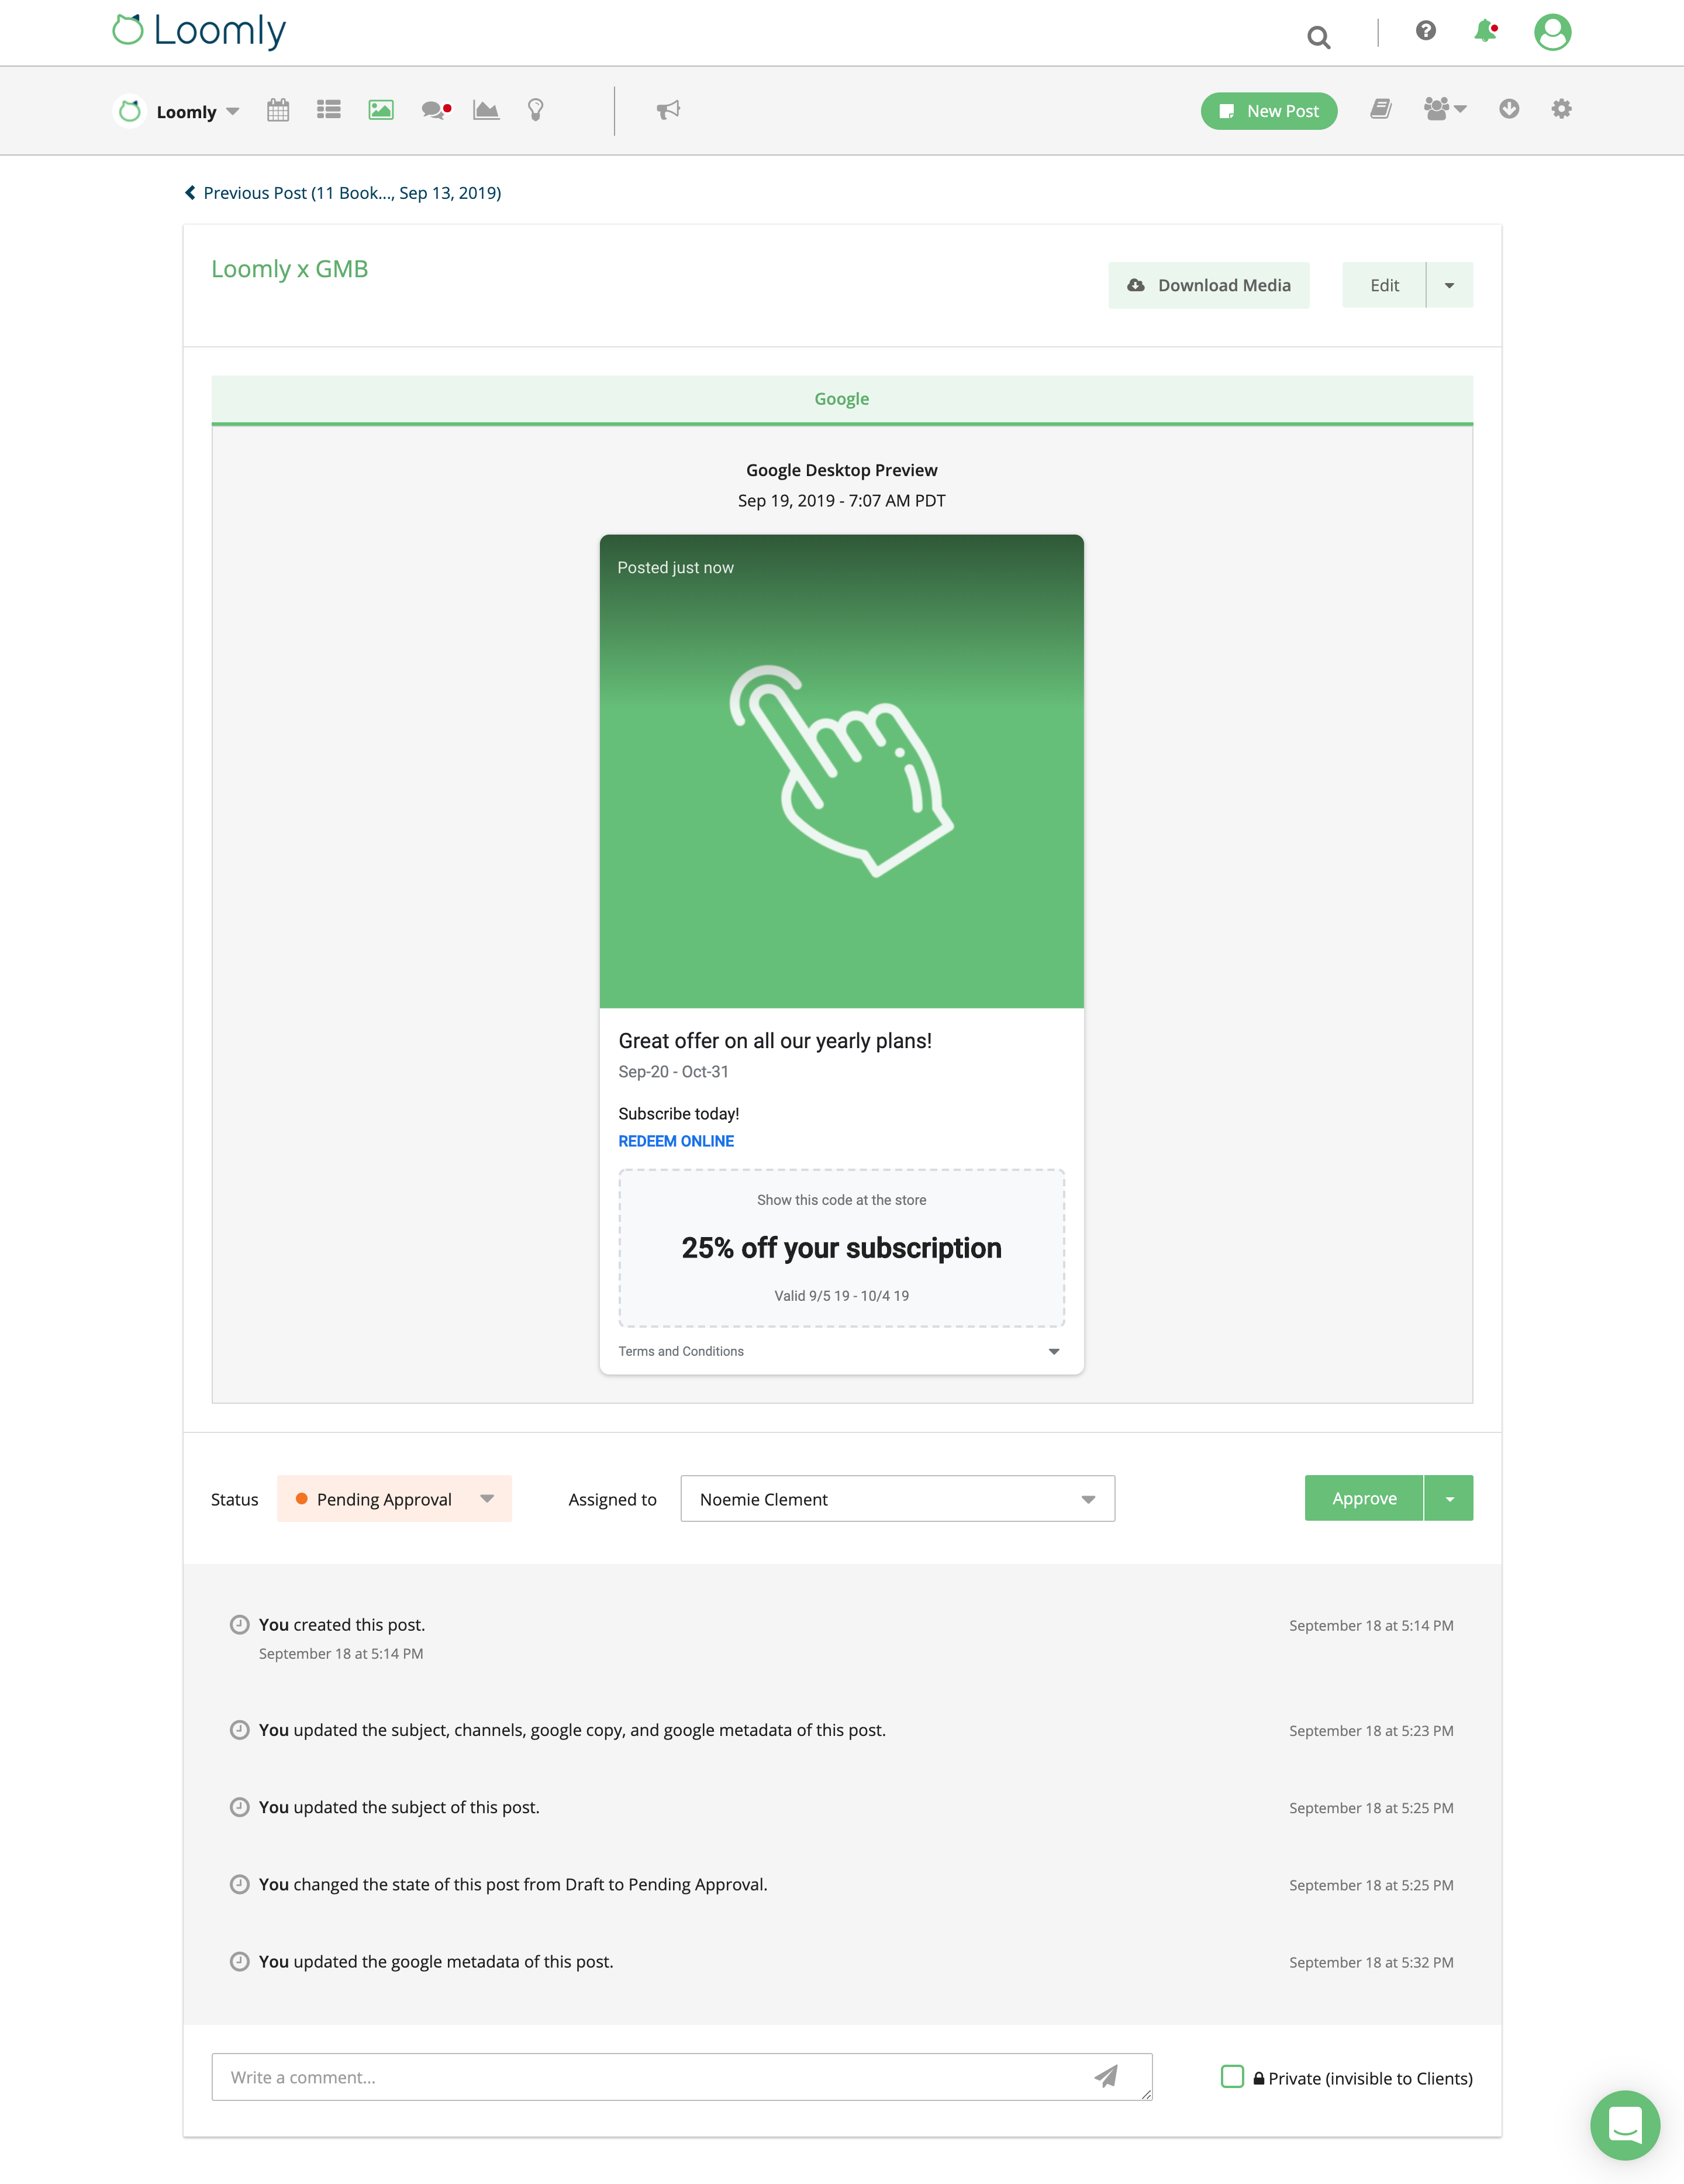
Give it a double or triple-check then hit Approve and/or Schedule. And you are all done!
You can repeat this process until your social media calendar is full of posts. (Learn more about that right here.)
Google My Business In A Nutshell
Google My Business is an excellent platform for connecting your business to local customers. If you rely on in-person visits, you need to create a profile.
If you want your business to stand out from the competition, Google My Business Posts can help you build a strong, likable, local brand.
Icing on the cake, Loomly will help you create, schedule, and publish these posts alongside your other social media platforms.