Seamlessly Import Your Media with Loomly's Google Drive Integration
You can now easily upload your images and videos from tools like Adobe Suite, Canva, CapCut, and more directly into Loomly from your Google Drive folders with the click of a button.
Loomly’s Google Drive integration streamlines your workflow and lets you easily collaborate with teams and clients to batch create pixel-perfect content for your social media posts.
Using Google Drive to Organize Your Social Media Assets
Clean your desktop and free up your downloads folder by uploading all of your creative assets to Google Drive.
Google Drive is a great way to manage your digital assets because it can act as a digital asset management tool for all of your brand’s visuals no matter the source. Designers work from a variety of tools to produce stunning visuals, so Google Drive is a great way to consolidate and organize their work.
Plus, since Google Drive is cloud-based storage, you, your teammates, and/or your clients can easily access creative assets on the go or from different devices. Not to mention the space it clears up from your hard drive!
How to Upload Media from Google Drive to Loomly
Setting up your You can upload images and videos from Google Drive to Loomly in two places: Content Library or Post Builder. Watch our video tutorial here, or follow the steps below to upload your media seamlessly.
Uploading to Loomly Content Library
In Content Library, you can upload up to 10 videos or 40 images at once. This is a great way for you to batch content externally, then upload to Loomly prior to scheduling.
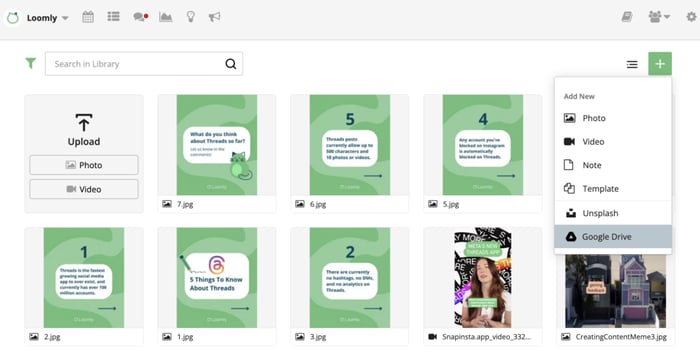
To upload to your Library from Google Drive, click the “+” icon, then click Google Drive. Simply login to your Google account, and then you’ll be able to select media to upload from your Google Drive folders.
Also, Loomly lets you use labels to track and manage campaigns. So, when you upload assets from Google Drive, make sure to add labels so you can easily sort/filter them in your Library when you need to track them down. You can easily do so by selecting the visuals and selecting “Label Asset”.
When you’re ready to create your social media posts, select the relevant assets, and you’re all set!
Uploading to Loomly Post Builder
From Post Builder, you can upload 1 video or 10 images at a time from Google Drive. To upload your media, click the Google Drive icon in either the Define Generic Content or Fine-Tuning steps:
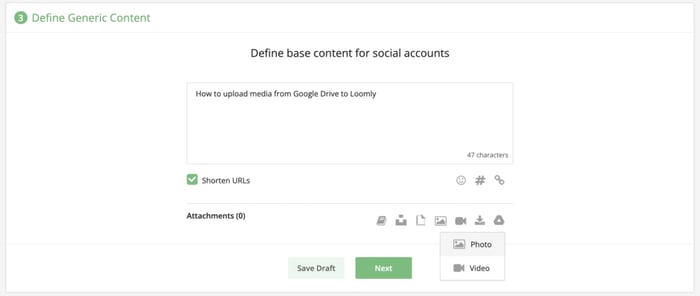
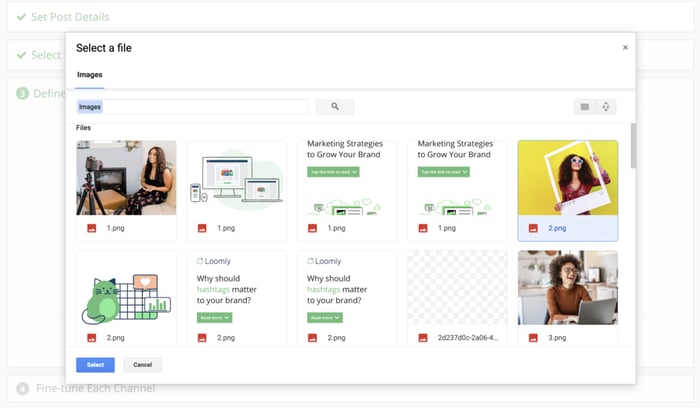
Then, select photo or video, select your Google account, then choose your media to upload:
In the fine-tuning step, you can select each social media channel in turn and then attach the associated creative assets from Google Drive. This is an ideal workflow when you need different aspect ratios if you’re cross-posting to different platforms.
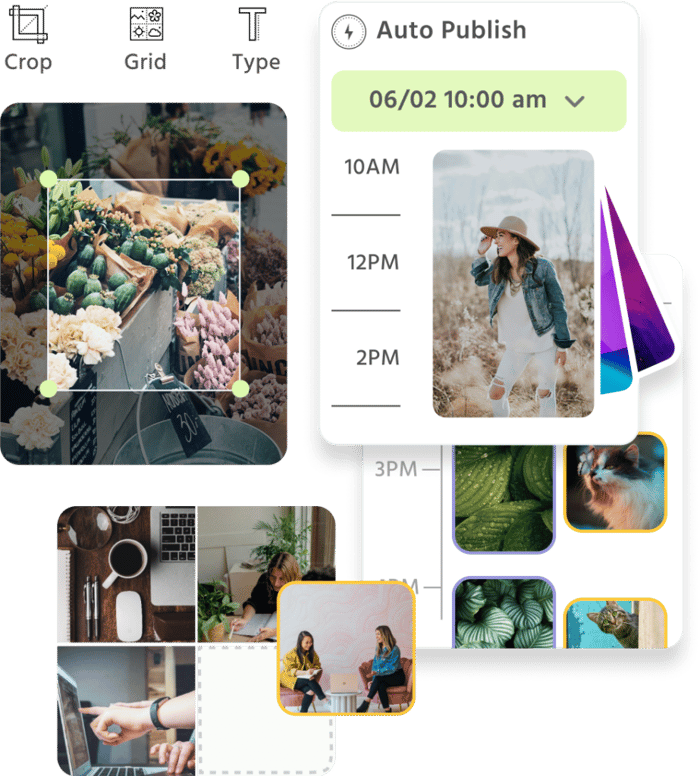
Plus, you can quickly crop images and videos to fit channel specifications using Loomly Studio.
Other Ways to Import Media into Loomly
You can upload media into Loomly Content Library or Post Builder however it’s easiest for you and your team:
- Via URL
- Royalty-free Images from Unsplash
- GIFs from GIPHY
- Loomly Content Library
- Directly from your computer
Digital Asset Organization Best Practices
With all of the varied content that is needed on social media, from short-form to long-form videos, different image sizes per channel, and all of the visuals required per campaign, keeping your assets organized can be challenging, to say the least. Here are some tips to help make things easier to locate.
The first is to make sure you’re naming the assets clearly so you can easily search for visuals that you need:
If you’re a brand, we recommend creating folders in Google Drive nested in the following order:
- Year
- Month
- Campaign or project
- Optional: timeline of assets released for the campaign
- So, for example, for a Black Friday campaign, you would have a folder label “Initial comms”, “follow up comms”, and “final reminder”.
Make sure to name your assets based on the intended social media channel as well so you know at a glance what is landscape vs portrait vs square.
If you’re an agency, then we recommend the following hierarchy:
- Client
- Year
- Month
- Campaign or project
- Optional: timeline of assets released for the campaign
You can also color-code your folders to easily see different clients or projects.
Stay tuned for more!
The Loomly Team is busy cooking up more exciting new features behind the scenes, so keep an eye out for what’s next!